How to make an island
Hi folks, Paul here. I've been meaning to do an arty blog for ages, and since most of my time at the moment is spent making new terrain, I thought I'd go through that process for you step by step. This isn't especially technical, but it'll make more sense if you've got a passing knowledge of Photoshop. The island in this case is Visage, one of our Kickstarter backer-sponsored areas.
This is our starting point, a basic placeholder that gives a rough idea of how much space Visage will take up on the final map. You might have seen some of these around the Unterzee, especially since we started shuffling.
(click to enlarge any of these images)

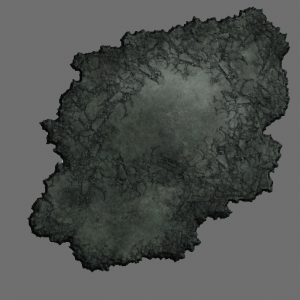
The first step is to lay the foundations: a dark layer of bedrock, scribbled in with a custom brush that I created in Manga Studio from a bunch of rocky doodles.

Now we flip over to Photoshop and add the basic terrain texture - just a wash of colour with a light bevel on the edges and a bit of noise. Using another rocky brush I erase around the edges to make those lovely crinkly bits.
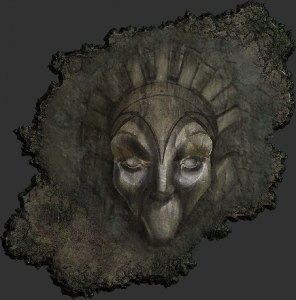
The islanders of Visage have a mask worship thing going on. Alex and I chat about how best to convey this (through the medium of landscape, from above) and eventually settle on an obvious but striking approach: a massive stone face, like the presidents of Mount Rushmore If they could look up and watch the clouds. I sketch out a masky face on a separate layer above the island texture:

It looks pretty cool, so I develop the values a bit and blend it with the surrounding rocks.

Finally, I add a rock texture on a layer set to overlay and mess around with the colour values until our face looks like it was carved from the surrounding material.
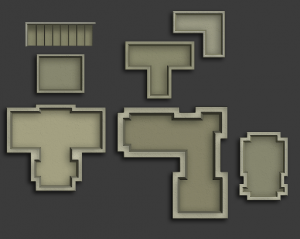
With the island’s “hero feature” done, it’s time to move onto the buildings. Alex is planning some fictional connections between Visage and the Salt Lions, so we decide the architecture should have an ancient Egyptian feel. I’m fairly rubbish at drawing man-made forms, so I make a bunch of very basic flat-topped building templates in Sketchup, pull them into Photoshop and paint over them. These will be pretty small in the final image, so they don’t need much detail.
Next, I spend an unfeasibly long time shuffling them around my island texture, playing a combination of Jenga and Tetris, painting on shadows, and adding yet more rocky texture overlays, until the buildings start to look like they belong in their location.

They look a bit plain by themselves so I add some wooden sunshades, stripey awnings and a pond. A basic wall around the buildings gives a sense of an encampment, some foliage and braziers bring the whole thing to life. Now the texture is done and we’re ready to move into Unity:
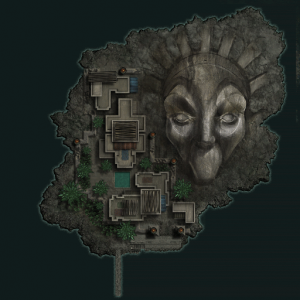
Processing art assets in Unity is a fiddly, technical process, and this is supposed to be an arty blog, so I won't spend much time talking about it here. The short version goes: collider ( so ships can't sail straight through it); lighting; separate lightblocker colliders to cast shadows from the player ship's headlamp; undersea rocks and flora (these are separate assets that get re-used around the map). The final additions are a port, properly orientated so you can sail out of it in the correct direction, and labels for the various landmarks.

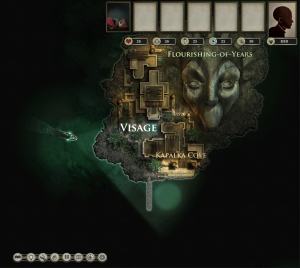
All this data is then transcribed into a separate file that our map shuffling tech can read. And we're done! Here it is in-game:
